In this blog, I will explain to you how to develop a FastAPI application and deploy it in Digital Ocean using Nginx and Gunicorn. Now let's start by creating a basic FastAPI application.
1. Creating FastAPI application
Create a folder called fast-api-ocean in your specified directory. Inside the directory create api.py file which contains the fastapi code. To avoid any CORS problems when using the API, we will additionally integrate CORS Middleware.
from fastapi import FastAPI
from fastapi.middleware.cors import CORSMiddleware
import uvicorn

app = FastAPI()

origins = ['*']

app.add_middleware(
    CORSMiddleware,
    allow_origins=origins,
    allow_credentials=True,
    allow_methods=["*"],
    allow_headers=["*"],
)

@app.get("/")
async def root():
    return {"message": "Hello from Fastapi"}

if __name__ == "__main__":
    uvicorn.run(app, host='0.0.0.0', port=8000)
When our script is complete, we will test to see if the FastAPI is working.
$ python3 api.py
After running the following command point to the http://localhost:8000/ such that you find the message "Hello from Fastapi" displayed. On routing to http://localhost:8000/docs a swagger UI will be provided which helps to test your endpoints.
2. Creating requirements.txt
Now we create a requirements.txt such that we can install all of our packages at ease. You can either add them manually in requirements.txt file or else follow the command pip freeze > requirements.txt
fastapi
uvicorn
gunicorn
3. Creating Digital Ocean droplet
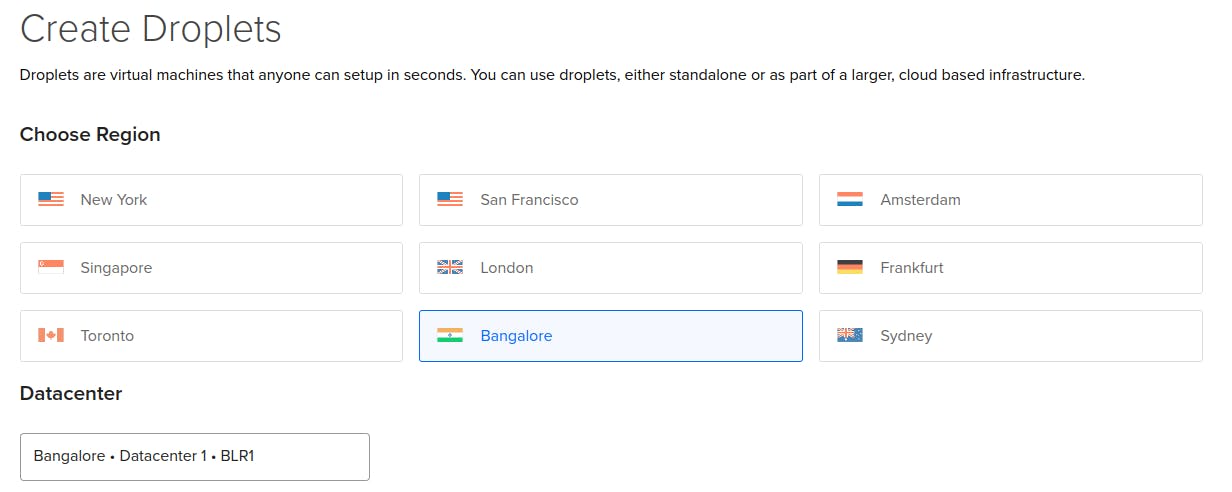
Sign in to your digital ocean account. Now on the top section click on Create and select Droplets .I have opted Banglore server region.

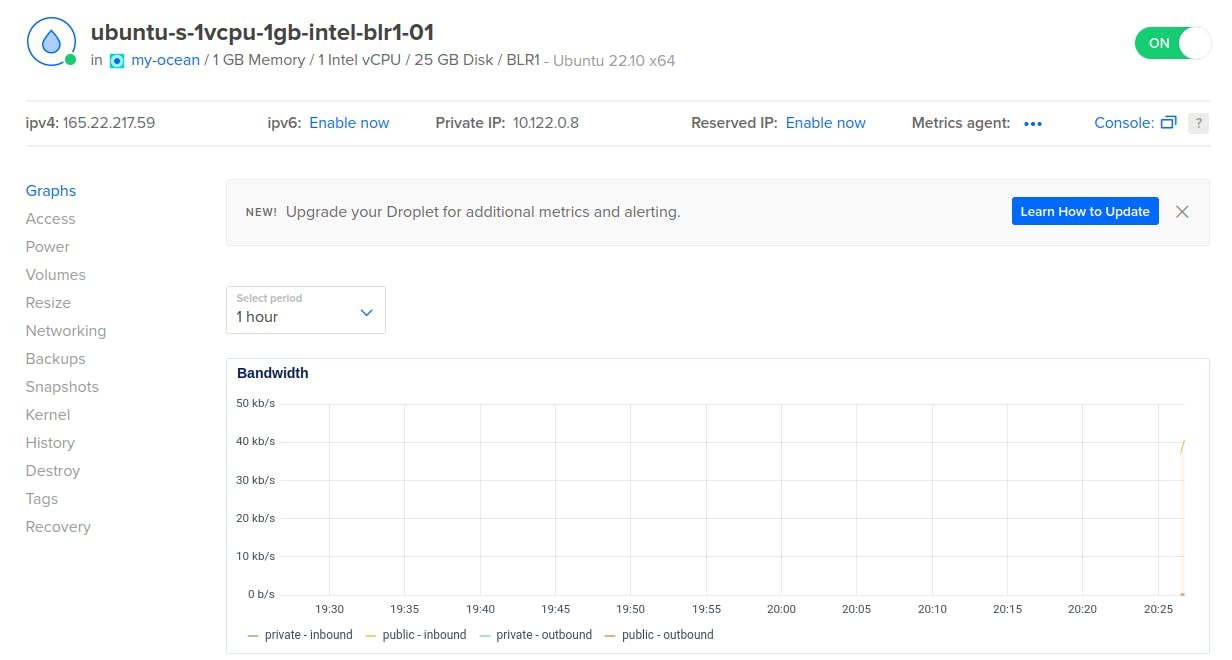
Now choose an image for the server. I am going with Ubuntu 22.10 x64 image.

You can select any of the CPU options. I chose 1GB RAM with 25GB NVMe SSD.

In Authentication Method I have selected SSH Key .

You can go with other options based on your droplet customization.

Now click on Create Droplet such that your droplet will be created. You can find your droplets in the Droplets section.
4. Accessing Droplet via SSH
You can access your droplet either by clicking on theConsole which is present on the top right corner. The other best and simple way is to access the droplet in you local machine using SSH. Copy the ipv4 address of your droplet.

You can access your droplet by executing the following command in your terminal. Here I am accessing as a root user.
$ ssh root@165.22.217.59
5. Copy files via SCP
Now we need to copy the folder which contains our code file such as api.py , requirements.txt from our local machine to the remote server. This can be achieved with the help of SCP. Open your terminal in your local-machine and navigate to your folder and execute the SCP command.
$ scp -r fast-api-ocean root@165.22.217.59:/root
Here I am copying my fast-api-ocean folder to the root of the remote server. Once copying is done you can navigate to /root/fast-api-ocean path and find you files.
6. Create a virtual environment
In the fast-api-ocean directory lets create a virtual environment using virtualenv
root@165.22.217.59:~/fast-api-ocean# pip install virtualenv
root@165.22.217.59:~/fast-api-ocean# virtualenv venv
root@165.22.217.59:~/fast-api-ocean# source venv/bin/activate
7. Nginx Configuration
To server the application over HTTP we have to make an Nginx config for our application. You can add any name to your app. Here I have specified as fast-api-ocean
(venv) root@165.22.217.59:~# sudo nano /etc/nginx/sites-available/fast-api-ocean
Add the following lines to the file. Place your IP domain in the server_name. My IP domain is 165.22.217.59 .
server{
       server_name 165.22.217.59;
       location / {
           include proxy_params;
           proxy_pass http://127.0.0.1:8000;
       }
}
Now press ctrl+s to save the file and ctrl+x to exit. Then we create a symbolic link to this config file in the /etc/nginx/sites-enabled directory.
(venv) root@165.22.217.59:~# sudo ln -s /etc/nginx/sites-available/fast-api-ocean /etc/nginx/sites-enabled/
Then we restart the Nginx service.
(venv) root@165.22.217.59:~# sudo systemctl restart nginx.service
Now we can start our uvicorn server to check if our application is working or not.
(venv) root@165.22.217.59:~# gunicorn -w 4 -k uvicorn.workers.UvicornWorker api:app
We should be able to access the URL and view our application from a browser now that our application is serving and the proxy server is set up correctly.
8. Configure ASGI Server
Now that our application is deployed and configured properly one last thing to do is to create a service for the Gunicorn server so that it is constantly running and it automatically begins when the server is rebooted. Systemd will be used to build the service.
(venv) root@165.22.217.59:~# deactivate
root@165.22.217.59:~# sudo nano /etc/systemd/system/fastapiocean.service
In this new file we will add the following lines
[Unit]
Description=Gunicorn instance to serve MyApp
After=network.target

[Service]
User=<username>
Group=www-data
WorkingDirectory=/root/fast-api-ocean
Environment="PATH=/root/fast-api-ocean/venv/bin"
ExecStart=/root/fast-api-ocean/venv/bin/gunicorn -w 4 -k uvicorn.workers.UvicornWorker api:app

[Install]
WantedBy=multi-user.target
Change the configurations to suit your system, save the file, and then close it.
root@165.22.217.59:~# sudo systemctl start fastapiocean.service
Our new service will be launched at this point, and our ASGI server will be running in the background.
Hurray! It's done. Now you can navigate to your IP-domain . Here in my case its http://165.22.217.59/ . Now you can find your FastAPI application running in the background in your droplets IP-domain .
I hope you find this blog helpful. Thank You.
