Deploy a containerised Fast API application in Digital Ocean

To pursue a highly rewarding career, seeking for a job in challenging and healthy work environment where I can utilize my skills and knowledge efficiently for organizational growth. Seeking a beginners role to explore and enhance my technical knowledge gained at University in the last few years. I am looking for a responsible job with an opportunity for professional challenges and self development that enables me as a fresh graduate to grow while fulfilling organizational goals
In this blog, I will explain to you how to develop a FastAPI application, containerize it, and deploy it in Digital Ocean. Now let's start by creating a basic FastAPI application.
1. Creating FastAPI application
Create a folder called fast-api-ocean in your specified directory. Inside the directory create api.py file which contains the fastapi code. To avoid any CORS problems when using the API, we will additionally integrate CORS Middleware.
from fastapi import FastAPI
from fastapi.middleware.cors import CORSMiddleware
import uvicorn

app = FastAPI()

origins = ['*']

app.add_middleware(
    CORSMiddleware,
    allow_origins=origins,
    allow_credentials=True,
    allow_methods=["*"],
    allow_headers=["*"],
)

@app.get("/")
async def root():
    return {"message": "Hello from Fastapi"}

if __name__ == "__main__":
    uvicorn.run(app, host='0.0.0.0', port=8000)
When our script is complete, we will test to see if the FastAPI is working.
python3 api.py
After running the following command point to the http://localhost:8000/ such that you find the message "Hello from Fastapi" displayed. On routing to http://localhost:8000/docs a swagger UI will be provided which helps to test your endpoints.
2. Creating requirements.txt
Now we create a requirements.txt such that we can install all of our packages at ease. You can either add them manually in requirements.txt file or else follow the command pip freeze > requirements.txt
fastapi
uvicorn
3. Creating a docker file
Let's now create a dockerfile which is used to build Docker Images. It is a simple text file that consists of a set of instructions or commands that is executed by an automated build process in steps from top to bottom.
FROM python:3.10

WORKDIR /src

ADD ./ /src

RUN pip install --upgrade pip
RUN pip install --no-cache-dir -r requirements.txt

EXPOSE 8000

CMD ["python", "api.py"]
Now our dockerfile is ready and we can create our image by using the following command.
docker build -t fast-ocean .
Once the image has been created, use the following command to execute it as a container. Now point to http://0.0.0.0:8000/ such that you can find your application running there.
docker run -p 8000:8000 fast-ocean
You can run the container in detached mode (in the background) by adding a tag -d
docker run -d -p 8000:8000 fast-ocean
4. Creating Digital Ocean droplet
Sign in to your digital ocean account. Now on the top section click on Create and select Droplets .I have opted Banglore server region.

Now choose an image for the server. I am going with Ubuntu 22.10 x64 image.

You can select any of the CPU options. I chose 1GB RAM with 25GB NVMe SSD.

In Authentication Method I have selected SSH Key .

You can go with other options based on your droplet customization.
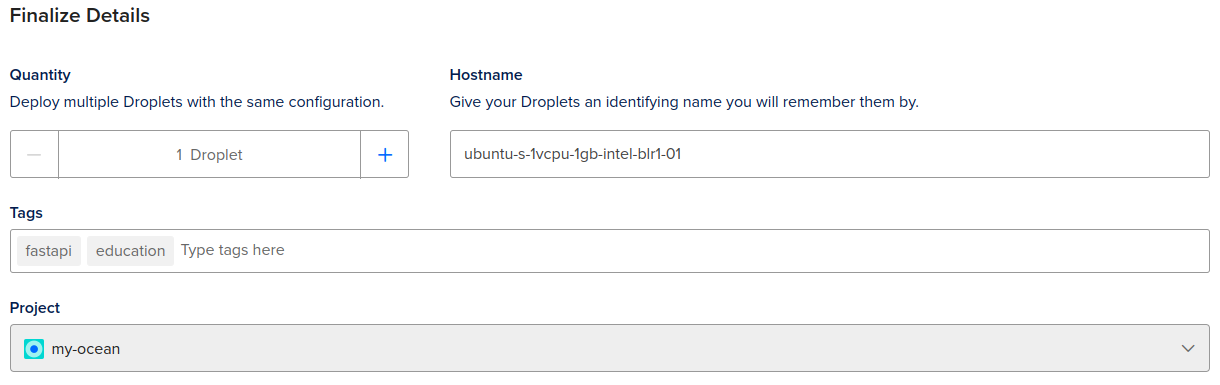
Now click on Create Droplet such that your droplet will be created. You can find your droplets in the Droplets section.
5. Accessing Droplet via SSH
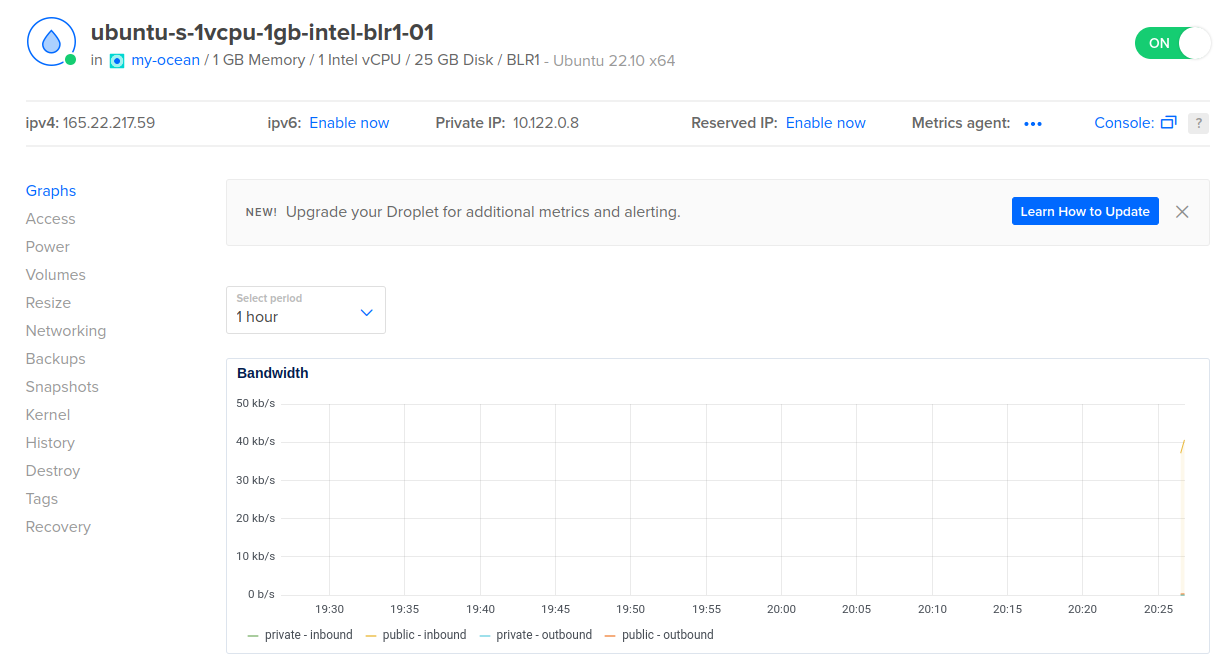
You can access your droplet either by clicking on theConsole which is present on the top right corner. The other best and simple way is to access the droplet in you local machine using SSH. Copy the ipv4 address of your droplet.
You can access your droplet by executing the following command in your terminal. Here I am accessing as a root user.
ssh root@165.22.217.59
Once you access your droplet type update all the packages.
apt-get update
6. Installing Docker in Digital Ocean Droplet
You can install docker in your droplet either by using snap or apt in your droplet terminal.
snap install docker
    # (or)
apt  install docker.io
Once your docker installation is done you can verify it by using the version command.
docker --version
7. Copy files via SCP
Now we need to copy the folder which contains our code file such as api.py , requirements.txt and dockerfile from our local machine to the remote server. This can be achieved with the help of SCP. Open your terminal in your local-machine and navigate to your folder and execute the SCP command.
scp -r fast-api-ocean root@165.22.217.59:/root
Here I am copying my fast-api-ocean folder to the root of the remote server. Once copying is done you can navigate to /root/fast-api-ocean path and find you files.
8. Building a docker image and running it in detached mode
As we installed docker in our Digital Ocean droplet now we can build the image with the help of the Dockerfile present in the fast-api-ocean folder.
docker build -t fast-ocean-droplet .
Now let's run the container in detached mode.
docker run -d -p 8000:8000 fast-ocean-droplet
Hurray! It's done. Now you can navigate to port 80 of your IP-domain . Here in my case its http://165.22.217.59/ . Now you can find your FastAPI container running in the background in your droplets IP-domain . The Dockerfile can be modified to suit your needs.
I hope you find this blog helpful. Thank You


